

Key Takeaways
- Damage size determines your patching method — hairline cracks, small holes, and fist-sized holes each require a different approach.
- Allowing adequate drying time between coats of joint compound is essential for a smooth, lasting finish.
- Feathering compound edges outward prevents visible ridges when the wall is painted.
- Most drywall repairs require two to three thin coats of compound, not one thick application.
- Proper sanding and priming before painting are what make a patch truly disappear.
What you will need
Choosing the Right Approach for Your Damage
Not all drywall damage is created equal, and reaching for the same product and method regardless of the problem is the most common DIY mistake. Before you open anything, assess what you're actually dealing with:
- Hairline cracks: Thin surface cracks — often caused by normal house settling or temperature changes — typically need only a flexible, paintable caulk or a skim coat of lightweight joint compound.
- Small holes (up to about 4 inches): Nail pops, doorknob dents, and small punctures call for a self-adhesive mesh patch or a California patch (a piece of drywall backed by the surrounding wall).
- Larger holes (4–8 inches): These need a backer board or wood cleat secured inside the wall cavity to give your drywall patch something solid to grip.
Understanding the size and cause of the damage helps you choose the right materials and prevents the frustration of a patch that cracks or sags later.
What you will need
Tools and Materials You'll Need
Having everything within reach before you start saves trips to the hardware store mid-repair and keeps the project moving efficiently.
Putty knife or drywall knife (6-inch)
Used to apply and smooth joint compound over the patch area.
Self-adhesive mesh drywall patch
Covers small to medium holes and provides a surface for compound to adhere to.
Lightweight all-purpose joint compound
The filler material applied over the patch in multiple thin coats.
120-grit and 220-grit sandpaper or sanding sponge
Smooths dried compound between coats and before priming.
Drywall primer (PVA primer)
Seals the patched area so paint adheres evenly without flashing.
Wood cleats or backer board
Provides structural support inside the wall cavity for larger hole patches.
Drywall saw or utility knife
Used to trim damaged edges or cut a clean hole for a backing-supported patch.
For most repairs, lightweight all-purpose joint compound (sometimes labeled "topping compound") is easier to sand than heavier setting-type compounds. Setting compounds harden chemically and are better suited for filling deep voids on larger holes before the finish coats.
Pre-Dampen Your Compound
Joint compound from the bucket can sometimes be slightly stiff, especially if it's been opened before. Stir it thoroughly and add just a teaspoon or two of water at a time if needed to reach a smooth, peanut-butter-like consistency. Compound that's too thick drags and tears the mesh; too thin and it sags off vertical surfaces.
Step-by-Step Patching Instructions
Follow these steps in order. Rushing drying times is the single biggest reason patches crack or show through paint.
Prepare the damaged area
Remove any loose paper facing, crumbling edges, or popped nails around the damage. For nail holes, tap the nail head just below the wall surface with a hammer — don't remove it. For larger holes, use a utility knife or drywall saw to trim the edges into a clean square or rectangle, which is easier to patch than an irregular shape.
Install backing support (for holes over 4 inches)
Cut a piece of scrap wood (a 1×3 or 1×4 works well) several inches longer than the hole's height. Slide it into the hole at an angle, position it behind the opening, and drive drywall screws through the existing wall into each end of the cleat. This creates a solid anchor for your patch piece. For holes 4 inches or smaller with a mesh patch, you can skip this step.
Apply the patch material
For hairline cracks: Apply a thin line of paintable flexible caulk or lightweight compound directly into the crack with a putty knife, then smooth it flush with the wall surface.
For small holes: Peel and stick a self-adhesive mesh patch centered over the hole. Press it firmly so all edges adhere.
For larger holes: Cut a piece of drywall to fit the cleaned opening. Secure it to your backer cleat with drywall screws, keeping screw heads just dimpled below the surface — not breaking through the paper.
Apply the first coat of joint compound
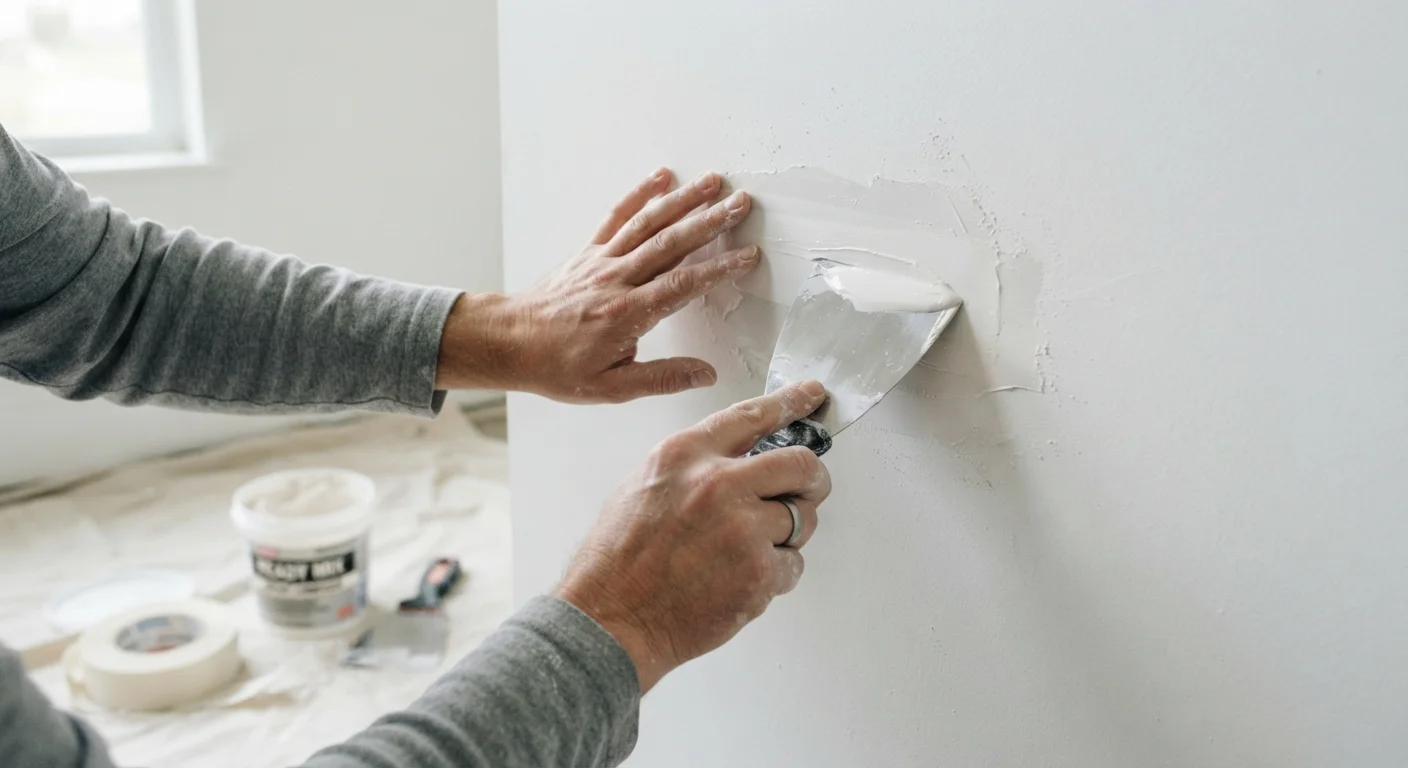
Using your 6-inch knife, spread a thin, even layer of lightweight joint compound over the mesh or patch seams. Apply it in smooth, overlapping strokes. Do not attempt to fill everything in one pass — thin coats dry faster and crack far less than thick ones. Feather the edges outward at least 2–3 inches beyond the patch perimeter.
Sand, then apply second and third coats
Allow the first coat to dry completely — this typically takes several hours or overnight depending on humidity. Once dry, lightly sand with 120-grit sandpaper to knock down ridges. Wipe away dust, then apply a second thin coat, extending it slightly wider than the first. Repeat with a third coat if needed, sanding lightly between each. Your final coat should be very thin — almost translucent — and blend smoothly into the surrounding wall.
Don't Skip Electrical and Plumbing Checks
Any time you cut into drywall — even for a relatively small patch — verify the area is free of wiring and pipes first. Use a stud finder with live-wire detection and proceed cautiously. If you're uncertain what's behind a wall, consult a licensed electrician or plumber before cutting.
Getting a Paint-Ready Finish
A technically correct patch that isn't sanded and primed properly will still be visible once painted. Once your final coat of compound is fully dry, sand the area with 120-grit sandpaper, working in light circular motions. Feather the edges — gradually thin the compound toward the surrounding wall so there's no hard ridge. Wipe away dust with a lightly damp cloth and let it dry completely.
Apply a coat of drywall primer (also called PVA primer) to the patched area before painting. Unprimed compound is porous and will absorb your topcoat unevenly, creating a dull spot — sometimes called "flashing" — even if the surface feels perfectly smooth. Once the primer dries, apply your finish paint. Depending on your existing wall color's age, a full-wall repaint may be needed for a seamless color match.
Prime Before You Paint — Always
Painting directly over bare joint compound — even when it looks smooth and dry — will almost always result in uneven sheen or color, known as flashing. This is one of the most common reasons a patch remains visible after painting. A single coat of PVA drywall primer applied to the patched area is the step that makes the repair truly disappear under your finish coat.