
Before You Call a Tradesperson: A Troubleshooting Checklist for Common Home Issues

Key Takeaways
- Many common home issues — dripping faucets, tripped breakers, running toilets — have straightforward DIY fixes.
- Checking the obvious first (circuit breakers, shut-off valves, filters) can save you a costly service call.
- Knowing when to stop and call a licensed professional is just as important as knowing what you can tackle yourself.
- Having a basic toolkit on hand makes first-pass troubleshooting faster and safer.
- Permits and licensed trades are legally required for certain electrical, gas, and structural work — never skip this step.
Summary
22 items · 20–45 minutes
Why Troubleshoot Before You Call?
A service call from a licensed tradesperson costs money before any actual repair begins — often between $75 and $150 just to show up, depending on your area and the trade involved. Many of the calls homeowners make turn out to have simple causes: a tripped breaker, a clogged aerator, a float valve that needs adjusting. Spending 20 to 45 minutes working through this checklist first can either fix the problem entirely or give the professional you do call a much clearer picture of what's wrong — which saves time and money for everyone.
This checklist covers the most common household categories: plumbing, electrical, HVAC, and fixtures. It's designed for homeowners with basic knowledge and a modest toolkit. If you don't yet have the essentials on hand, our first-time homeowner's toolkit guide covers exactly what you need to handle situations like these.
Stop Immediately for Gas, Sparks, or Flooding
If you smell gas (a rotten-egg odor), see sparking wires, notice water near your electrical panel, or face any situation that feels unsafe — stop, don't use light switches or open flames, leave the home, and call 911 or your utility's emergency line. No checklist item is worth personal risk. This guide addresses nuisance-level problems only.
One rule applies throughout: if at any point you smell gas, see sparking wires, notice water near an electrical panel, or feel unsafe, stop immediately. Leave the home if necessary and call the appropriate emergency service. This checklist is for nuisance-level issues, not hazardous ones.
Tools You'll Want Nearby
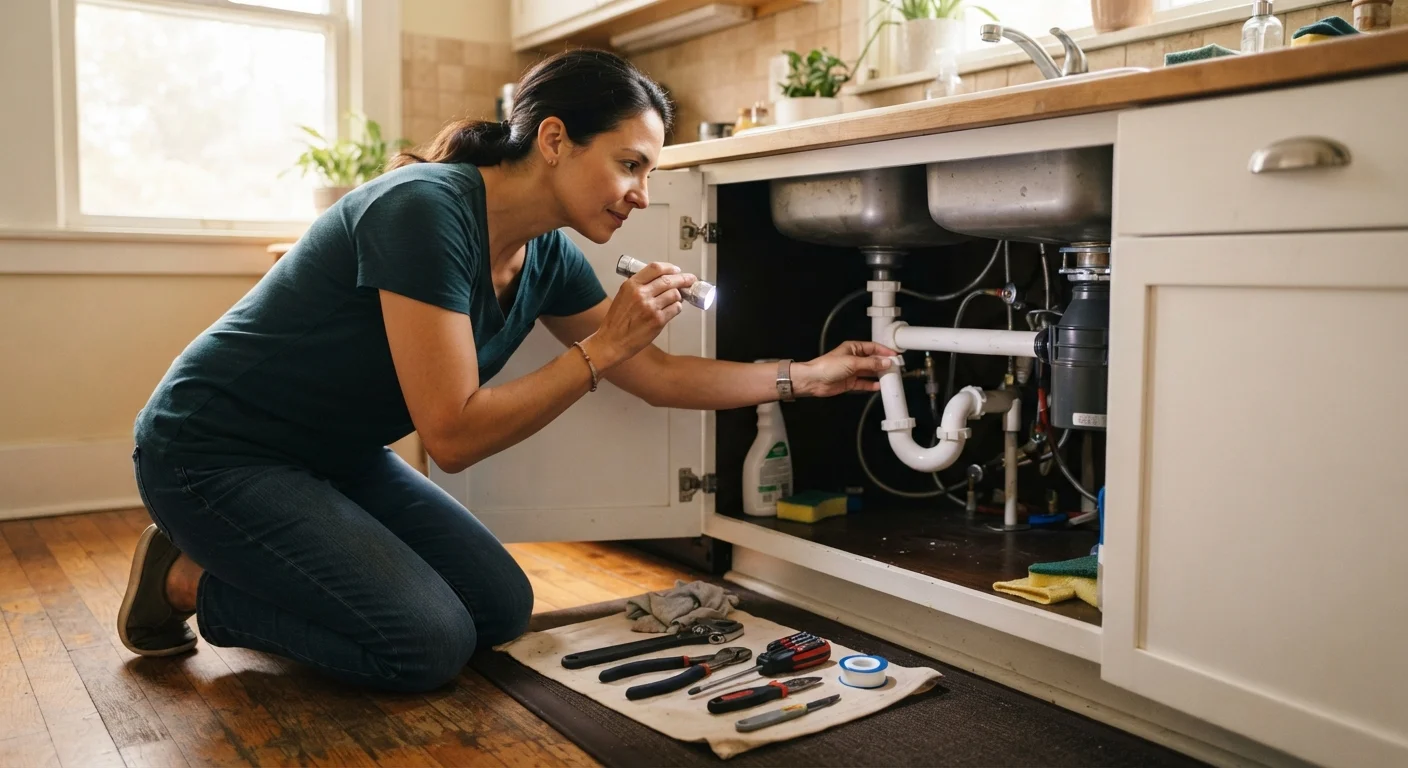
Before you start, gather a few basics. You don't need a full workshop — just enough to look, test, and make minor adjustments.
Flashlight or headlamp
Illuminates under-sink cabinets, inside panels, and other dark spaces where problems commonly hide.
Flathead and Phillips screwdrivers
Needed to tighten hinges, open fixture covers, and remove aerators or drain stoppers.
Adjustable wrench
Allows you to hand-check and snug up supply line fittings without over-tightening.
Non-contact voltage tester
Lets you safely confirm whether an outlet or fixture is live before touching any wiring.
Replacement HVAC filter
Keeping a spare on hand means you can fix a clogged filter the moment you find it.
Bucket and old towels
Catches residual water when opening supply lines or checking drain connections.
The Troubleshooting Checklist
Work through each group in order. Check off items as you go. If a group resolves your issue, you may not need to continue — but it's worth scanning the remaining groups to catch anything else that might be developing.
Plumbing
Electrical
HVAC & Airflow
Doors, Windows & Fixtures
Don't Force Stuck Shut-Off Valves
Older shut-off valves — particularly those that haven't been turned in years — can crack or fail if forced. If a valve is stiff and won't turn with gentle pressure, don't crank it harder. Note it as a maintenance item and have a plumber replace it during a scheduled visit rather than risking a sudden leak.
Reset a Tripped Breaker Only Once
If a breaker trips again immediately after you reset it, do not keep resetting it. A repeatedly tripping breaker signals an overloaded circuit or a wiring fault — both of which require a licensed electrician to diagnose. Forcing repeated resets can cause overheating or a fire.
When to Put Down the Wrench and Call a Pro
This checklist handles everyday nuisances — it's deliberately not a guide to electrical panel work, gas line repair, or structural modifications. Those tasks carry real safety risks and are typically regulated: most jurisdictions in the US require permits and licensed contractors for work on mains electrical, gas appliances, and load-bearing elements. Doing that work yourself without the right credentials can void your homeowner's insurance and create liability problems when you sell.
A good rule of thumb: if the fix requires opening a wall, working past the breaker panel's dead front cover, touching a gas line, or involves anything you can't clearly see and understand, call a licensed professional. The goal of this checklist is to eliminate the easy causes first — not to replace the trades entirely.
For a useful parallel from another category, the same DIY-versus-professional logic applies to vehicles: our DIY car maintenance guide walks through where that line sits for auto work.
Also worth bookmarking: if you've had any issues with moisture around tile or fixtures, check our piece on caulk, grout, and sealant — misapplying these materials is a surprisingly common cause of slow leaks and mould.
This article is for general informational purposes only. Always verify local building codes and permit requirements before undertaking home repairs, and consult a licensed professional for electrical, gas, structural, or any work you are not confident performing safely.