

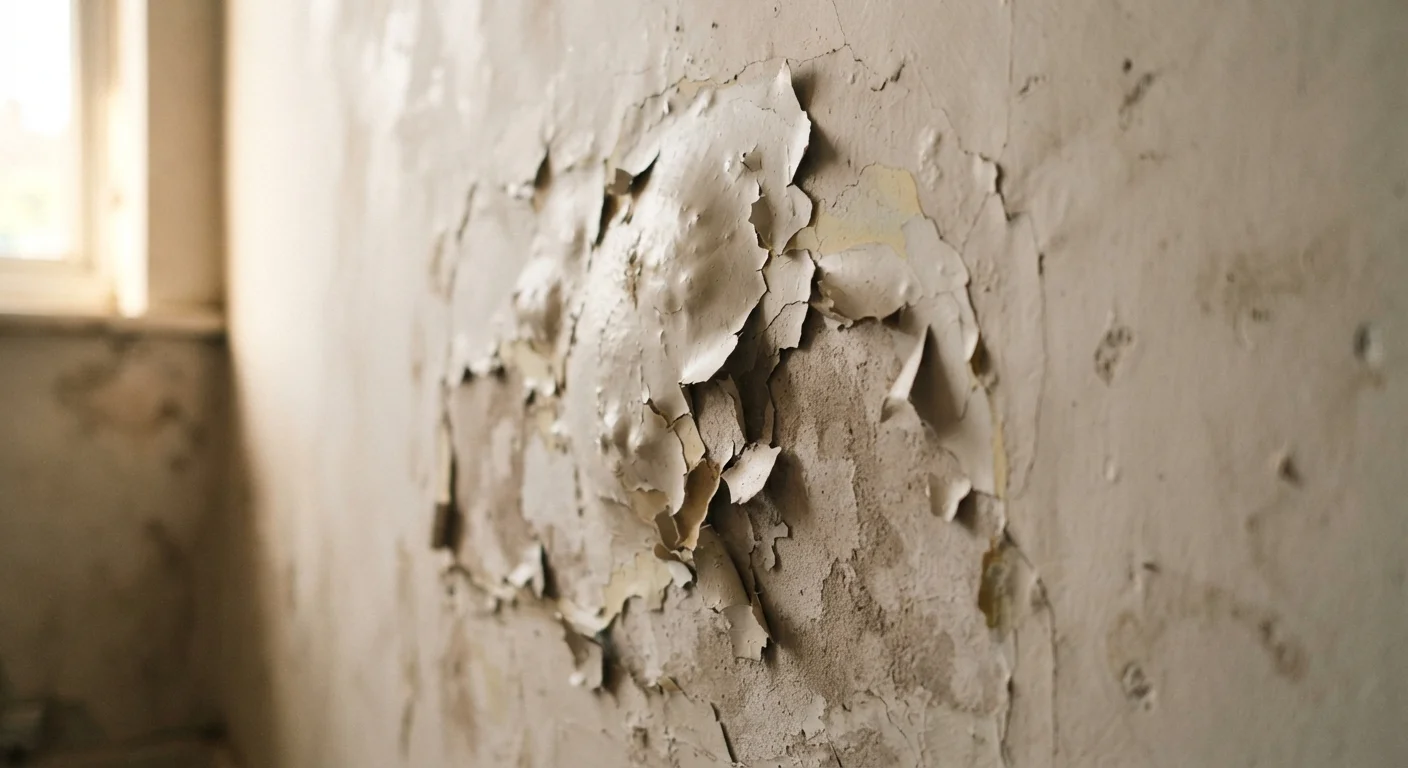
Key Takeaways
- Peeling paint is usually caused by moisture, poor surface prep, or skipping primer — not just bad paint.
- Repainting over peeling paint without fixing the root cause guarantees the problem will return.
- Proper surface preparation — scraping, sanding, priming — is the most important step before any new coat.
- Moisture-prone areas like bathrooms and kitchens need moisture-resistant primer and adequate ventilation.
Why Paint Peels in the First Place
Before grabbing a roller, it helps to understand what's actually happening when paint peels. Paint is designed to bond with surfaces, so when it lets go, something interfered with that bond — and the new coat will face the same problem unless you address it.
The most common culprits fall into three categories:
- Moisture: Water seeping through walls, steam from showers, or condensation weakens the bond between paint and surface. This is especially common in bathrooms, kitchens, and exterior walls.
- Poor surface preparation: Painting over dirty, glossy, or unstable surfaces prevents the paint from gripping properly.
- Skipping or skimping on primer: Primer creates the adhesive foundation paint needs to hold long-term. Without it, even quality paint is likely to fail.
Identifying which factor caused your peeling guides everything you do next. If moisture is behind it, no amount of repainting will solve the problem without fixing the source first.
Fix the Source Before the Surface
If moisture caused your paint to peel, repainting without addressing the water source will produce the same result within months. Inspect the area carefully for plumbing leaks, window seal failures, or ventilation problems. No primer or paint product can compensate for ongoing moisture infiltration.
Common Mistakes Homeowners Make Before Repainting
Most peeling paint problems that come back quickly aren't the paint's fault — they're the result of skipped or rushed preparation steps. Here are the mistakes to watch for.
Painting directly over peeling or bubbling paint without removing it first.
Why it happens: It seems faster to just roll new paint on top, and the result looks fine — briefly. But the unstable layer underneath continues to fail, taking the new paint with it.
Ignoring the moisture source and repainting anyway.
Why it happens: Moisture damage isn't always obvious from the inside, and fixing a leak or improving ventilation feels like a separate, harder job than painting.
Skipping primer on bare drywall or patched areas.
Why it happens: Many homeowners assume paint-and-primer-in-one products eliminate the need for a separate primer coat, especially on small patches.
Not sanding the edges where old paint ends.
Why it happens: The raised ridge at the edge of a peeled area is easy to overlook once paint is scraped away. It becomes very visible once a fresh coat dries.
Painting over a dirty or greasy wall surface.
Why it happens: Kitchen and bathroom walls accumulate invisible grease and soap film that disrupts paint adhesion, even when the wall looks clean.
90%
Paint failures tied to prep, not paint quality
Industry painting professionals widely estimate that the vast majority of paint failures result from inadequate surface preparation rather than defective paint products.
48–72 hrs
Drying time before repainting moisture-damaged walls
Walls affected by moisture typically need 48 to 72 hours of drying time after the source is fixed before priming and repainting can begin reliably.
The Right Way to Prep a Peeling Wall
Once you've identified the cause and avoided the pitfalls above, follow these preparation steps before applying any new paint:
- Fix moisture problems first. Repair leaks, improve ventilation, or address condensation before anything else. A bathroom exhaust fan that actually vents to the outside, or caulking around a window, can prevent repeat peeling entirely.
- Scrape off all loose paint. Use a putty knife or paint scraper to remove every flaking section. Don't just scrape the obvious spots — press gently around the edges to check for paint that's loosely attached.
- Sand the edges smooth. Where paint ends and bare wall begins, you'll feel a ridge. Sand that edge down so the surface is as flat as possible. This prevents a visible outline under your new coat.
- Clean the surface thoroughly. Wipe down walls with a damp cloth to remove dust, grease, and debris. For kitchens, a mild degreaser may be needed. Let the wall dry completely before moving on.
- Fill and skim. Use lightweight spackle or joint compound to fill any divots or gouges left from scraping. Sand smooth once dry.
- Prime properly. Apply a quality primer suited to your surface type. For areas with previous moisture damage, a stain-blocking primer helps seal the surface and prevents bleed-through.
Older Homes May Have Lead Paint
If your home was built before 1978, peeling paint may contain lead. Disturbing lead paint through scraping or sanding creates hazardous dust. Contact your local health department or a certified lead abatement professional before beginning any prep work. Do not sand or scrape without first testing for lead.
Only after completing these steps should you apply your topcoat. Two thin coats of paint will almost always outlast one thick coat.