

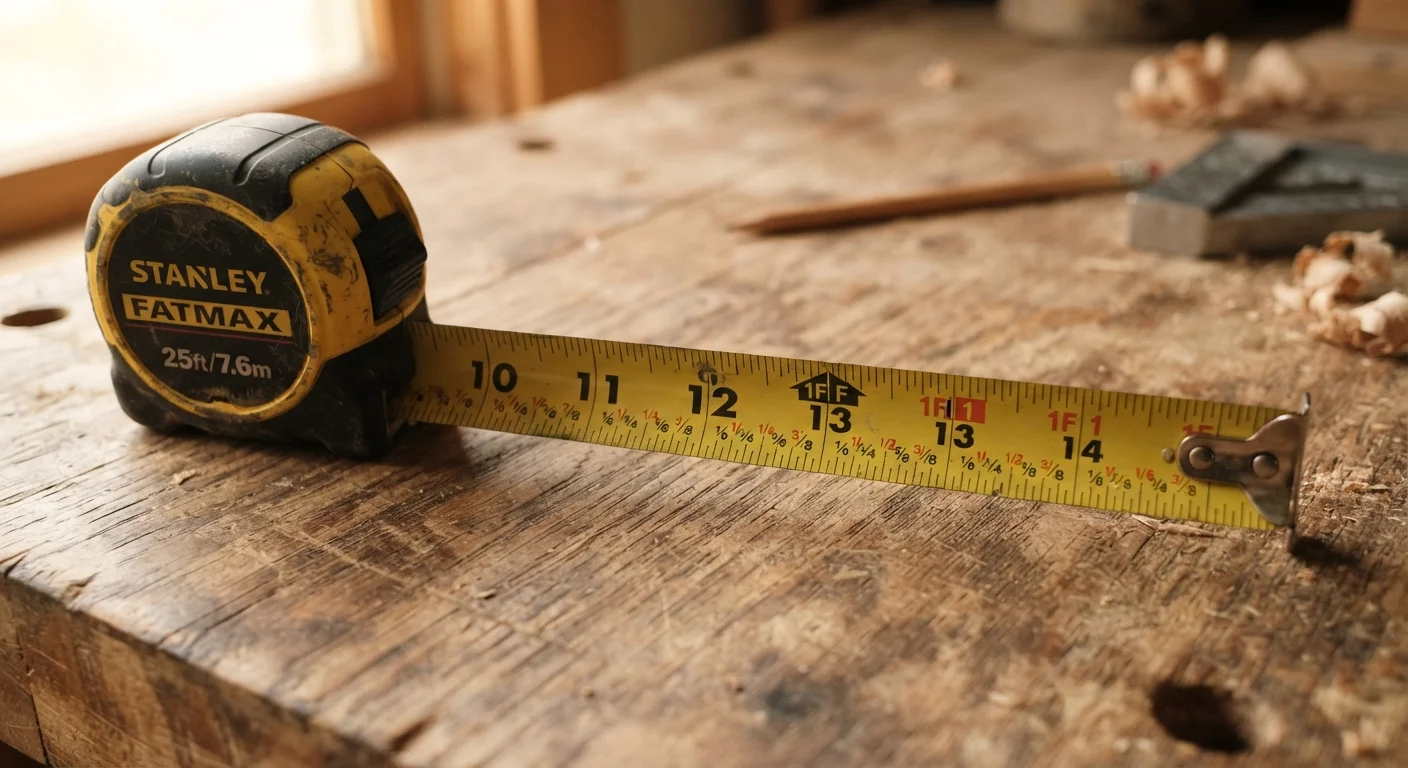
Key Takeaways
- Line height tells you the fraction — taller lines mean larger fractions.
- The longest line marks the full inch; the second longest marks the half-inch.
- Sixteenth-inch lines are the shortest and most numerous, appearing between every other marking.
- Always hook the end tab against an edge before pulling — the loose tab is intentionally designed to shift slightly.
- Double-check by measuring twice before cutting, marking, or drilling anything permanent.
Tape Measure Markings
A tape measure is ruled in inches divided into fractions — halves, quarters, eighths, and sixteenths — represented by lines of different heights. The taller a line, the larger the fraction it represents. Learning to identify which line equals which fraction is the core skill for reading any standard US tape measure accurately.
Most US tape measures display imperial units (inches and feet) on the top edge and metric units (centimeters and millimeters) on the bottom edge. The metric side works on a simple base-10 system and is generally easier to read for precise small measurements.
Why Tape Measure Markings Confuse People
Most beginners stare at a tape measure and see a wall of lines that all look similar. The confusion is understandable — a single inch contains up to 16 lines packed into a tiny space. The good news is that the system is logical: line height is your guide. Each fraction of an inch gets its own consistent line height, so once you learn the hierarchy, you can read any point on the tape without counting from scratch.
This skill matters for practically every hands-on home project, from hanging shelves to cutting trim. If you're just building out your toolkit, see our guide to what a first-time homeowner actually needs — a tape measure is among the first items listed for good reason.
Metric vs. Imperial: Know Your Project
Most US home improvement materials — lumber, drywall, tile — are sized and sold in imperial units (feet and inches). If your plans or instructions use metric measurements, convert carefully before marking, since a small unit mismatch can throw off an entire layout. Some tape measures include both scales to help bridge the gap.
The Fraction Hierarchy: Reading Every Line
Here is the line-height system from tallest to shortest:
- Full inch (longest line): Numbered clearly — 1, 2, 3, and so on. Easy to spot.
- Half inch (second longest): One line sits exactly halfway between each inch mark. This splits the inch into two equal parts.
- Quarter inch (medium): Two lines appear between each half-inch mark, dividing the inch into four equal parts: 1/4, 1/2, 3/4, and the full inch.
- Eighth inch (shorter): Four shorter lines appear between the quarter-inch marks, giving eight divisions per inch: 1/8, 2/8 (=1/4), 3/8, 4/8 (=1/2), and so on.
- Sixteenth inch (shortest): The smallest lines, doubling the divisions to 16 per inch. These are the densest marks and the ones most people find hardest to read at first.
A practical method: start at the nearest full-inch mark to the left, identify whether your endpoint falls past the half-inch line, then narrow down to the quarter, eighth, and finally sixteenth. You're triangulating rather than counting from zero each time.
Practice the Hierarchy Out Loud
When learning, say the fraction aloud as you identify each line: 'that's the half-inch, that's the three-quarter, that's the seven-eighths.' Verbalizing the step-down process builds the pattern into memory faster than silent reading. After a dozen repetitions on practice objects, it becomes automatic.
Common Mistakes — and How to Avoid Them
Even experienced DIYers slip into these habits:
- Ignoring the floating hook: The metal end tab is not defective when it wiggles. It's engineered to slide one tab-thickness so both inside and outside measurements are accurate. Never force it to stay still.
- Reading from the wrong end: When measuring door or window openings, add the case length to your reading. The case length is usually stamped on the tape housing itself.
- Misidentifying 3/8 and 5/8: These two are the most commonly confused marks because they sit between the intuitive quarter points. Count carefully: 3/8 is the third eighth-inch line past zero; 5/8 is the fifth.
- Not holding the tape flat: A bowed or angled tape reads longer than the true distance. Keep it level and in contact with the surface being measured.
Projects where precise measurement is critical — like tiling — compound any reading error. Our article on what beginners underestimate about tiling a bathroom wall covers how even small measurement mistakes affect tile layout and final results.
Putting It Into Practice
The fastest way to build confidence is to practice on known objects before taking critical measurements on a real project. Measure a sheet of paper (8.5 × 11 inches), a standard brick, or a dollar bill — all have documented dimensions you can verify your reading against.
When you're on the job, always measure twice and mark once. Use a sharp pencil rather than a marker for the most precise line. If a project involves cutting materials or making permanent changes — especially where fit really matters, like trim work — take the time to double-check your fraction reading before committing.
16
Divisions per inch on a standard US tape
Standard imperial tape measures sold in the US divide each inch into 16 equal parts, making sixteenth-inch precision available for fine carpentry and trim work.
16"
Typical stud spacing in US wood-frame homes
The standard 16-inch on-center stud spacing in most US residential construction is why tape measures prominently mark every 16 inches, often in red.
Accurate measuring also matters once your project is done. If a renovation changes your home's layout or footprint, it can affect your coverage needs — though decisions about insurance are best made with a licensed professional, not a tape measure.