

Key Takeaways
- Surface preparation — not tile selection — is the most overlooked step in bathroom tiling.
- Planning your layout on paper before mixing any adhesive prevents crooked, mismatched results.
- Choosing the wrong adhesive type for wet areas is one of the most common and costly beginner mistakes.
- Grouting too soon or too late ruins the finish; timing and technique both matter.
- Corner transitions and cuts around fixtures trip up most first-timers without prior planning.
Why Bathroom Walls Punish Skipped Steps
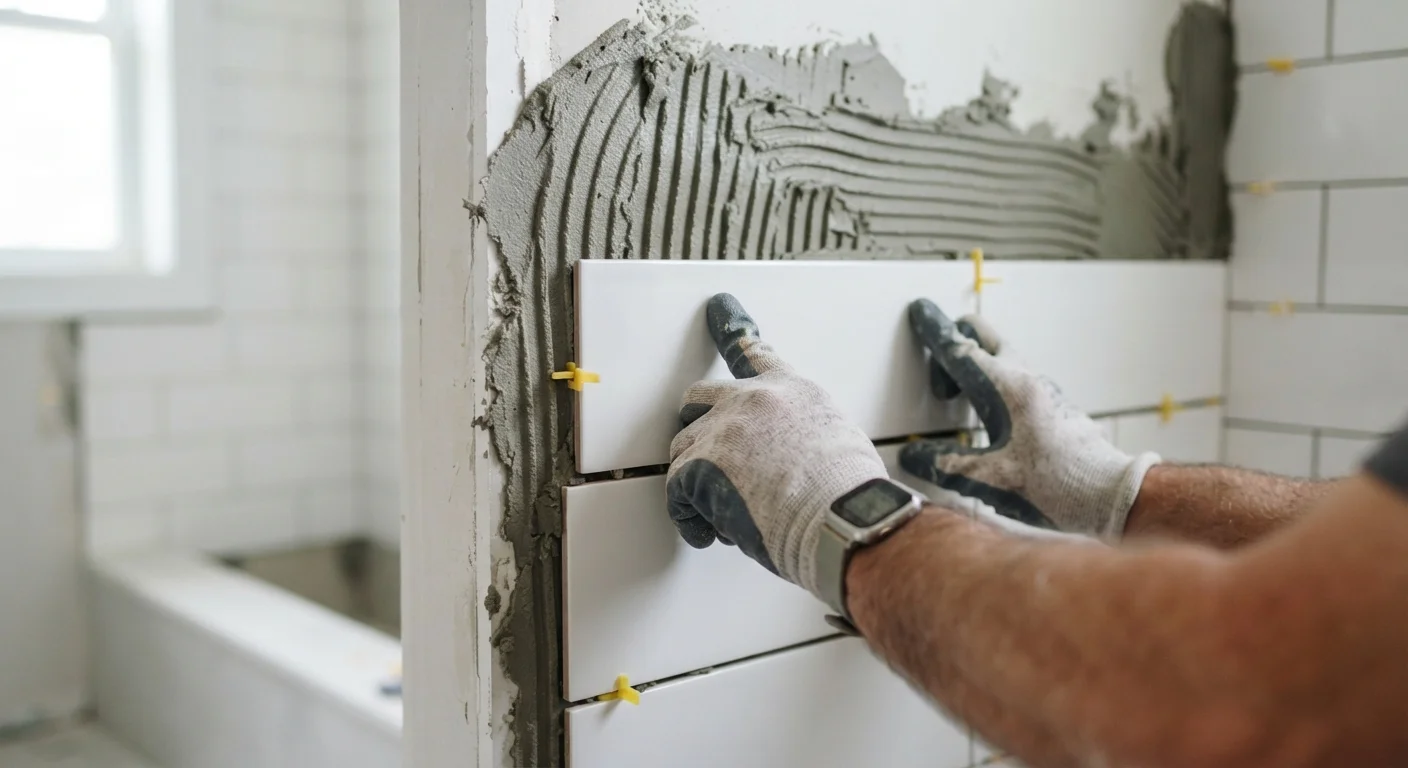
Tiling a bathroom wall looks deceptively straightforward — peel, press, done. But the bathroom environment is uniquely unforgiving. Steam, temperature swings, and direct water contact expose every shortcut. Tiles crack, grout goes mouldy, and entire sections can pop off the wall within months if the fundamentals are rushed.
Most beginners underestimate how much happens before the first tile goes up. Understanding these hidden steps — surface prep, layout planning, material selection — is what separates a lasting result from an expensive redo. If you're still building your general toolkit, see our First-Time Homeowner's Toolkit guide before you begin.
~30%
Extra time substrate prep adds to a tiling job
Industry guidance from tile setting professionals consistently cites surface preparation as consuming nearly a third of total project time when done properly.
10–15%
Recommended tile overage for cuts and breakage
Standard practice among professional tile setters is to order at least 10% extra for simple layouts and up to 15% for diagonal patterns or complex cuts.
Surface Preparation: The Step Everyone Skips
Your wall surface must be clean, flat, dry, and stable before anything else. Tiling over painted drywall, old adhesive residue, or soft plaster is one of the most common beginner errors. Any flex or contamination in the substrate will telegraph through to your tile layer over time.
- Check for flex: Press firmly across the wall. Any movement needs to be fixed — loose drywall should be re-screwed, soft spots in plaster replastered and cured.
- Sand painted surfaces: Glossy paint won't bond well with adhesive. Lightly sand or use a bonding primer rated for tile applications.
- Use cement board in wet zones: Standard drywall — even moisture-resistant — is not appropriate directly behind a shower or tub surround. Cement backer board is the correct substrate for full wet-area walls.
- Let it dry completely: New plaster or patched areas must cure fully before tiling. Rushing this step traps moisture and causes adhesive failure.
Test Before You Commit
Before applying adhesive across a full section, press one tile firmly onto a small patch of adhesive, wait 60 seconds, then pull it back. The adhesive should transfer to at least 80–90% of the tile back. If coverage is thin, your adhesive may be too dry or your wall may need priming. Catching this early saves the whole job.
Layout Planning: Measure Twice, Tile Once
A bad layout becomes obvious the moment grout lines dry. Tiles that are nearly-but-not-quite symmetrical, or thin slivers jammed into visible corners, are hallmarks of skipped planning. Before mixing a single drop of adhesive, do this:
Find the center of each wall and work outward symmetrically.
Starting from the center ensures that cut tiles at both ends of a wall are equal in size, creating a balanced, professional appearance. Centering also prevents the common mistake of ending up with a thin sliver tile on one side.
Account for fixtures, windows, and outlets in your layout plan from the start.
Obstacles interrupt grout lines and require cuts. Planning around them in advance prevents awkward tile positioning around switches, mirrors, or niche shelves — all of which draw the eye.
Use tile spacers consistently throughout the installation.
Even a millimeter of inconsistency in joint width becomes visible when grout is applied. Spacers ensure every joint is uniform without relying on eye alone.
Dry-fit an entire section before applying adhesive.
Dry-fitting reveals layout problems, awkward cuts, and tile size inconsistencies before they're locked in. This step is almost always skipped by beginners and almost always regretted.
Accurate measuring is fundamental here. If you're not confident reading fractions on a tape measure, our guide to reading a tape measure will get you up to speed quickly.
Adhesive and Grouting: Getting the Materials Right
Not all tile adhesives are the same, and using the wrong type in a bathroom is a setup for failure. For wet areas, use a polymer-modified or epoxy-based tile adhesive rated for wet environments — these are labeled accordingly on the packaging. Standard pre-mixed mastic adhesives are not suitable for shower surrounds or areas with direct water exposure.
Grouting is where many otherwise solid tiling jobs fall apart. Common mistakes include:
- Grouting too soon: Adhesive needs to fully cure — typically 24 hours minimum, longer in humid conditions — before grout is applied. Check manufacturer instructions, not guesswork.
- Mixing grout too wet: A watery consistency weakens the finished joint and makes it more porous. Grout should hold its shape like thick peanut butter.
- Skipping sealer: Unsanded or sanded grout in a bathroom should be sealed after curing to resist moisture and staining.
Understanding the difference between grout, caulk, and sealant is also essential — they're not interchangeable, and using the wrong one at inside corners or around fixtures causes leaks. See our companion article on caulk, grout, and sealant for a clear breakdown.
“The tile is only as good as what's behind it. Ninety percent of tiling failures trace back to the substrate, not the tile or the grout.”
— The Tile Council of North America, Industry standards body for the North American tile industry
Quick Wins to Apply Before You Start
You don't need to be an expert tiler to get a clean, durable result — but you do need to respect the process. These immediate actions will put you ahead of most beginners before a single tile touches the wall.
When to Call a Licensed Professional
Tiling over structural cracks, removing and re-waterproofing a shower pan, or working near plumbing shut-offs are jobs that benefit from professional assessment. If your wall shows signs of water damage — soft spots, discoloration, or mold behind existing tiles — have a contractor evaluate the extent before you re-tile. Tiling over active moisture issues will not solve them.